Detailed burning instructions
Jump to navigation
Jump to search
- if you haven't already: Turn off AutoPlay. If you have done this already, you do NOT need to do it again.
- you may put a blank CD-R or CD-RW in at any time
- Make a new playlist that will contain the songs you want to burn
- the PLUS button in the bottom left of the screen will make a new playlist
- alternately, you can go to the File menu and pick "New Playlist"
- You may wish to rename the playlist, to have a name that you prefer. This will be the name of the disc
- select the playlist you just made
- move the mouse pointer over the name of the playlist
- do not move the mouse, but click and release, still not moving the mouse
- after a second or two, the playlist will go into "rename mode"
- you can start typing, and enter the new name of the playlist
- when you're done, press enter. (it may appear to NOT have renamed, but this is a bug. if it seems like it did not rename, click Library, then click the playlist again, it should then show the new name)
- Select the Library again
- find the songs that you want to burn to the disc
- drag and drop them into the new playlist
- select the new playlist again
- make sure the playlist is sorted by "#"
- optionally at this point you may drag and drop to reorder the songs to appear in the order you wish (you may skip this step)
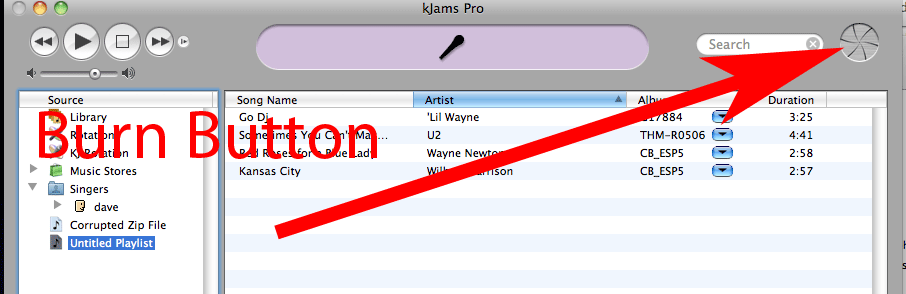
- press the Burn button in the upper right corner of the screen (it looks like a camera iris)
- if you have not already, put in a blank CD-R or CD-RW
- set the speed to what you want (i recommend set it to fastest, try a burn, if it fails, try a lower speed. If that succeeds, keep it at the lower speed always)
- Press the "burn" button in the lower right